Note: This post was automatically migrated from Markdown to Typst using AI. Read more about the migration process here. Contact me if something in this post is off and bothering you.
Upgrading my blog theme with the Vanilla CSS Framework
Recently I have spent more and more time thinking about the usability of my website and the cleanliness of its code.
This has brought me to another iteration in its design process.
Of course also related to my employment at Canonical I have decided to give our Vanilla Framework a try.
The first thing I had to update is my gulp task to include node_modules during the build.
gulp.task(“css”, function () { return gulp .src(${source}/assets/css/styles.scss) .pipe(sourcemaps.init()) .pipe(sass({ includePaths: ‘node_modules’ }).on(‘error’, sass.logError)) .pipe(sourcemaps.write(“.”)) .pipe(gulp.dest(“assets/built/”)); });
Otherwise it wouldnt pick up on the imports. This is also described [on the framework page].
Then I have included the basic settings from Vanilla in my styles file with
    @import "vanilla-framework/scss/settings";
    @import "vanilla-framework/scss/base";
    @include vf-base;
The @include is necessary because vanilla provides mixins via the imported files. This way I can control exactly what I want on my blog, thus reducing bloat and data usage.
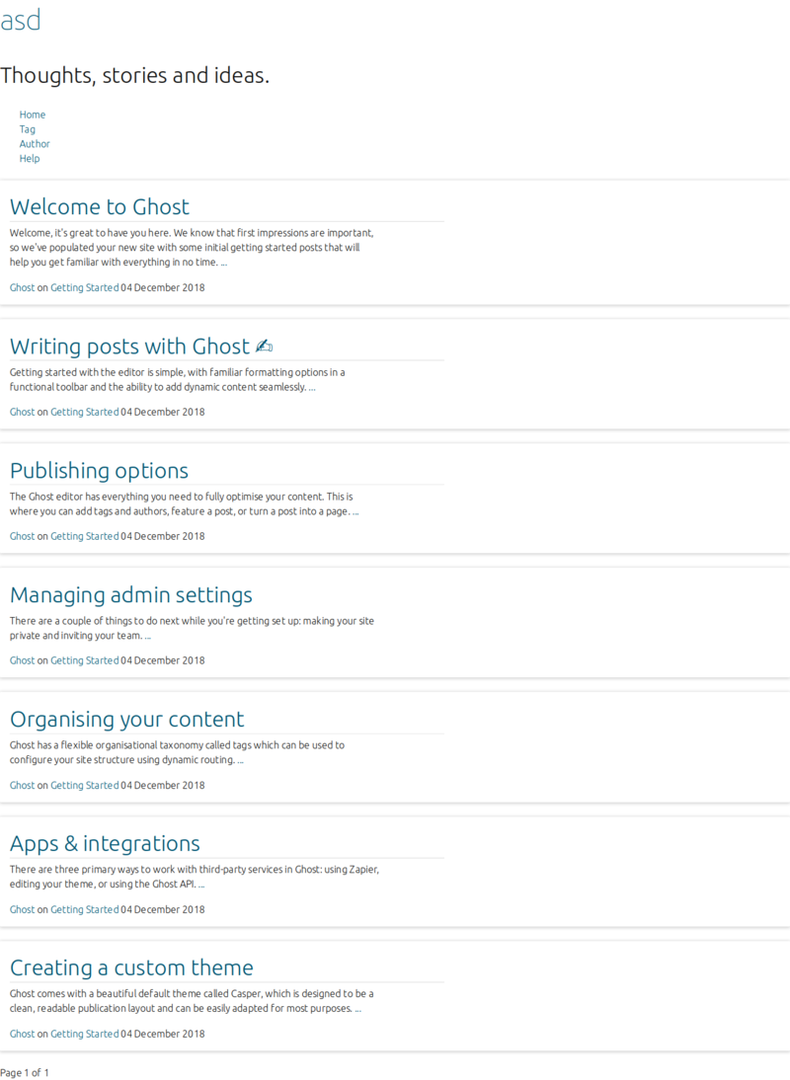
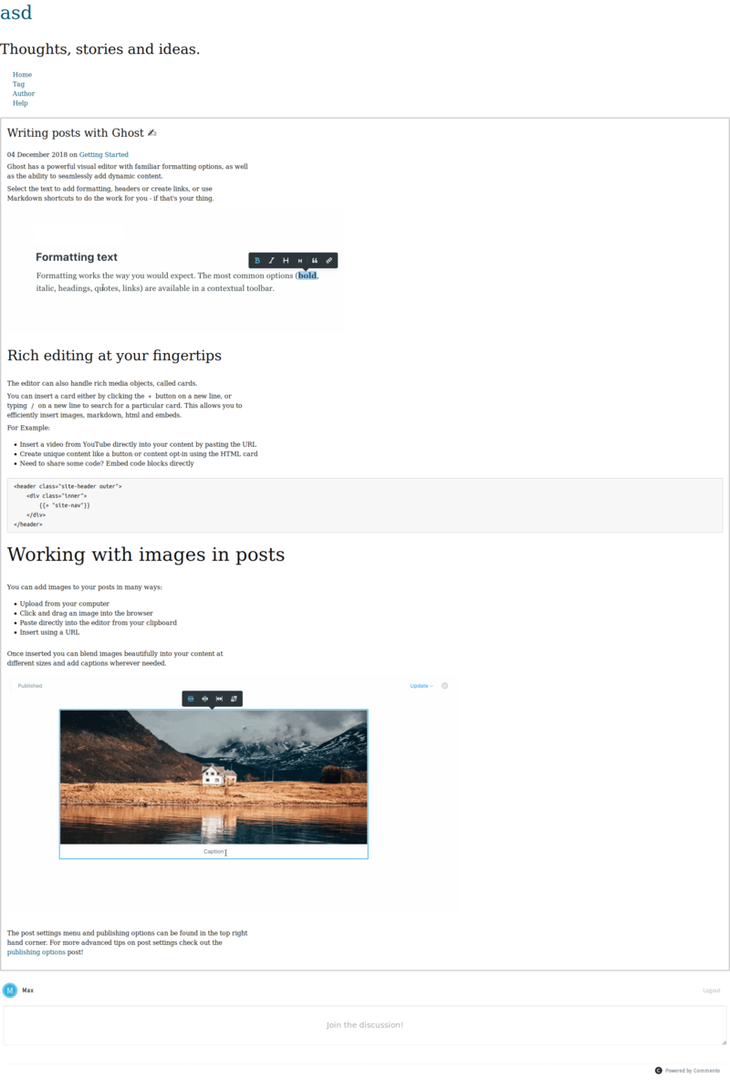
Just by doing this, the website, given its semantic HTML already looks pretty nice:
Unfortunately the picture that was here has been lost into the void
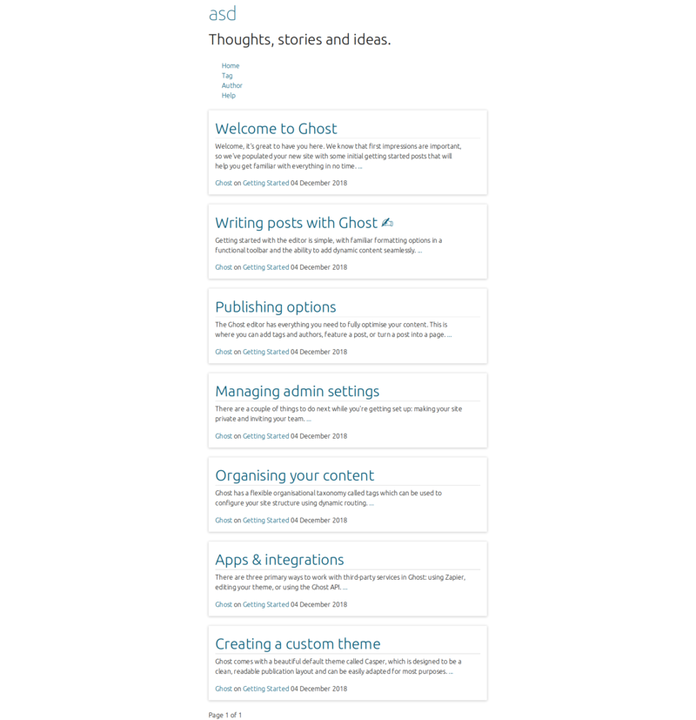
One thing that I would still like to highlight though is the main content vs the head of the webpage. After browsing through the patterns at https://docs.vanillaframework.io/en/ for a bit I decided that I am only going to need the p-card pattern to achieve this.
After including this with @import "vanilla-framework/scss/patterns_card"; and using the needed mixins for the default card, the highlighted one and the content inside the card with
@include vf-p-card-default;
@include vf-p-card-highlighted;
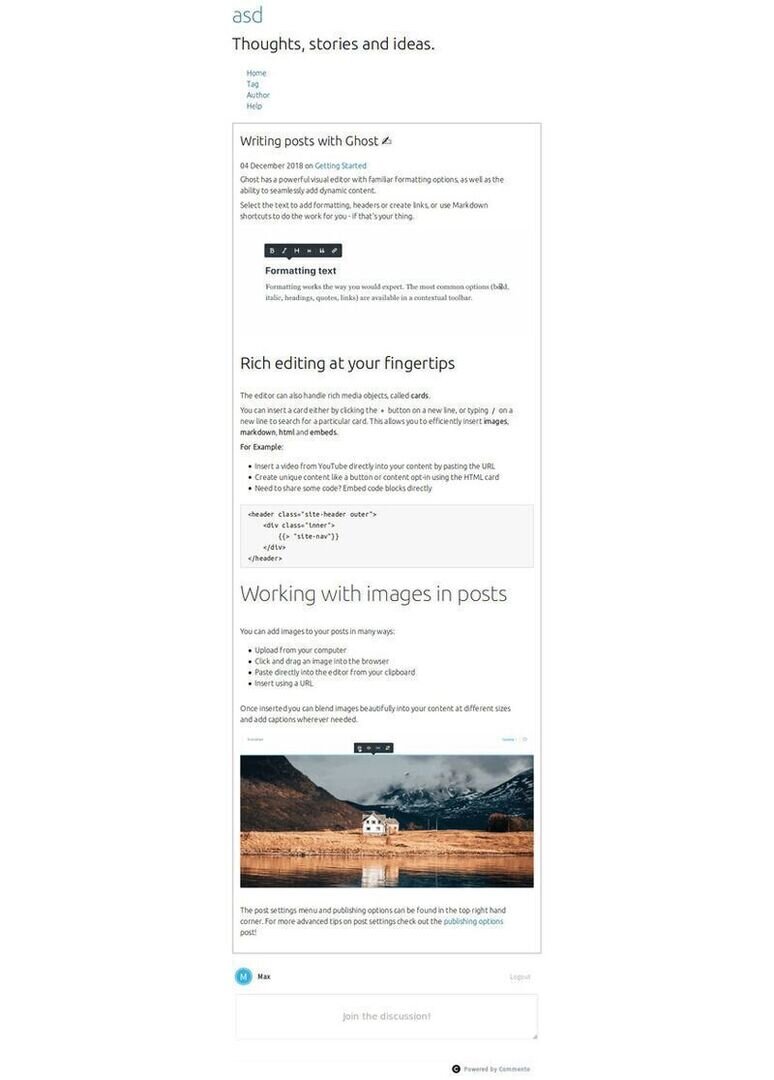
@include vf-p-card-specific-content;I just had to add classes to my articles on the index page and the content on the post page to achieve the following:
One thing that still bothers me here is the focus of the content on the left side. So I went ahead and adjusted some of the margins to the sides and on the header.
An additional thing I added (or actually removed) afterwards is the Font. If you set the $font-base-family variable before including the Vanilla base mixin, it will replace the default Ubuntu Font. As my goal is a very data saving, content focused website, I have replace it with serif, sans-serif. This will use the Fonts that are installed on the system in that order.
So, if for any reason, there is no Font found that has serifs, a Font without serifs will be used instead.
Resümee ——-
In a few hours I was able to reach a design that is both clear and allows the user to focus on the content, which is written text. The Vanilla Framework, and the way it is set up, made it possible for me to focus on the things that are important to me and disregard the rest.
This way I can leverage all the design decisions around readability etc. that the Vanilla team has put into the framework and still have a bloat-free, brutalisitc website design to my liking, that represents me on the Internet.
This is a great speed improvement and asset for someone like me who appreciates great design, but spends a lot of time in the backend.